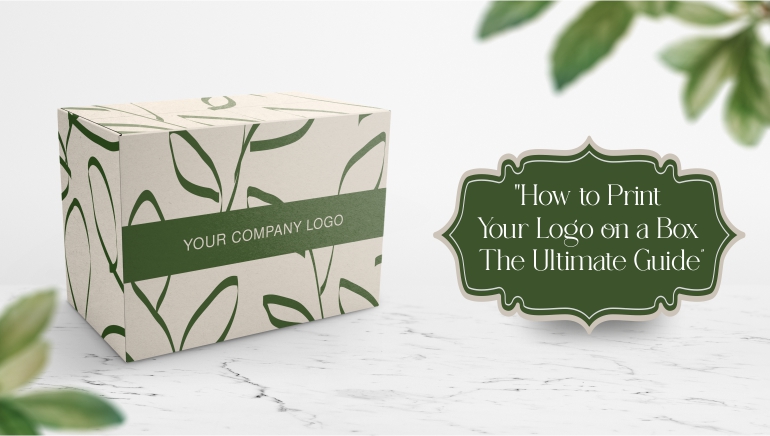
To print a logo on a box, you can follow these steps:
Determine the size and placement of the logo on the box. Measure the dimensions of the box and the size of the logo to determine where it should be placed and how large it should be.
- Create a digital version of the logo in a vector format. This can be done using a design program such as Adobe Illustrator or CorelDRAW. Vector graphics are scalable and do not lose quality when enlarged or reduced in size.
- Choose a printing method. There are various printing methods available for printing on boxes, including screen printing, digital printing, and offset printing. Each method has its own advantages and disadvantages, so choose the one that best suits your needs and budget.
- Choose the colors for the logo. If you are printing using the CMYK color model, you will need to choose the colors for the logo based on the CMYK values. If you are using the Pantone Matching System (PMS), you can choose the specific PMS color for your logo.
- Prepare the artwork for printing. Once you have the digital version of the logo and have chosen the printing method and colors, you will need to prepare the artwork for printing. This may involve converting the file to a specific format required by the printer, adjusting the colors, and adding any necessary bleeds or margins.
- Print the logo on the box. Once the artwork is prepared, it can be sent to the printer for production. Make sure to carefully review a proof of the design before finalizing the printing process to ensure that the logo looks correct and is placed where you want it on the box.
Overall, printing a logo on a box can be a complex process that involves many steps, but by carefully planning and following these steps, you can create a high-quality box with a professional-looking logo.

